How To | Step by Step Tutorial
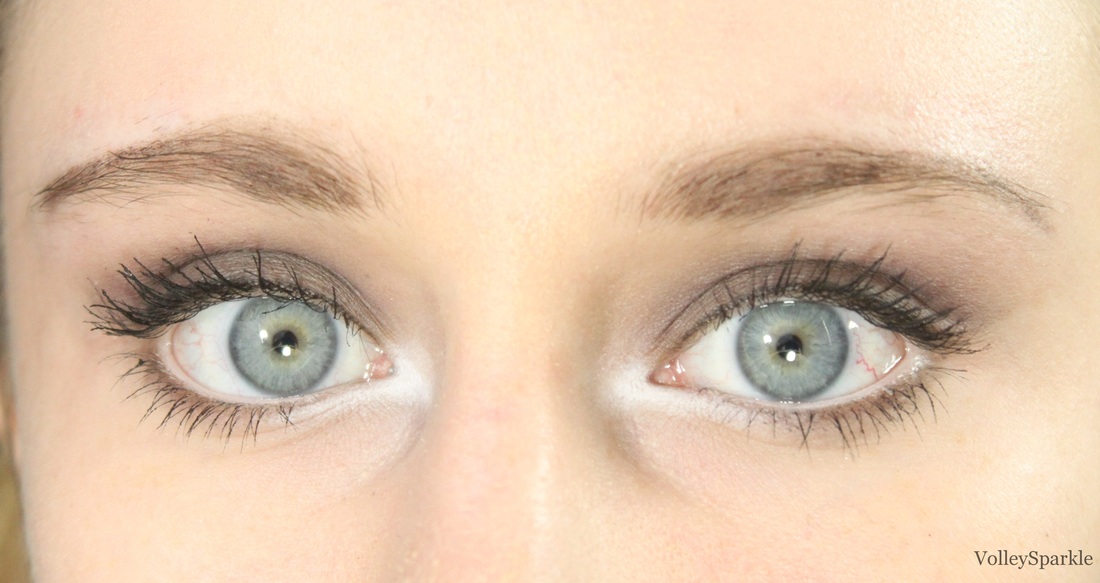
To begin this look, after priming with the Elf Eyelid Primer, I applied the Maybelline Tough As Taupe Color Tattoo all over the lids with my finger. For the transition shade in my crease, I applied a light Taupe (M5 from the Smashbox Full Exposure Palette) with the Real Techniques Deluxe Crease Brush. 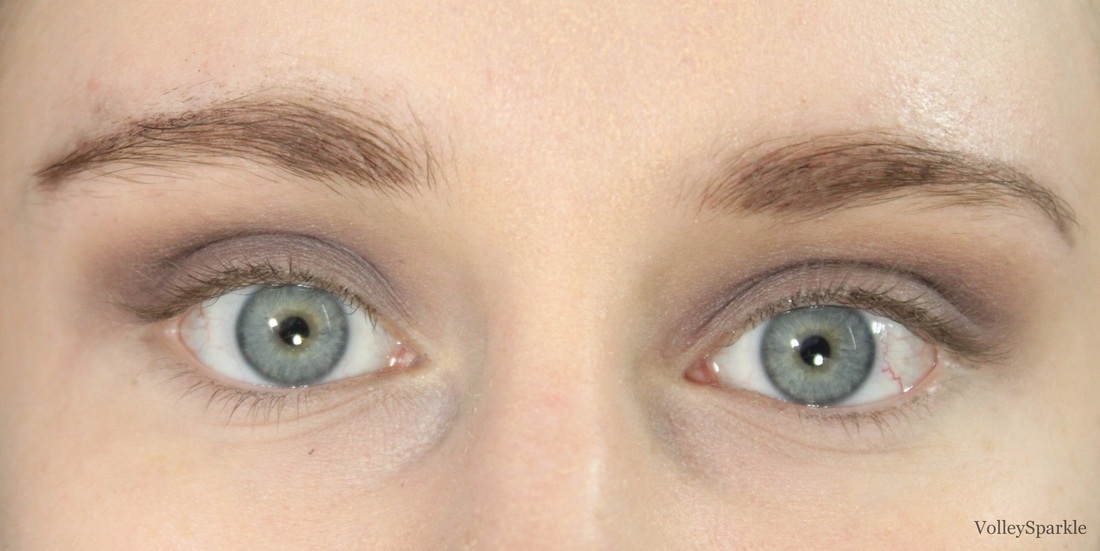
To deepen up the crease I used a medium neutral purple (Violet from the IT Cosmetics Naturally Pretty Palette) on a Coastal Scents Blender Crease brush from the inner to outer crease. I also applied a bit of a medium purple brown (All Heart from the IT Cosmetics palette) to help Violet blend into the transition shade. I blended the shadows together with the Sigma E40. 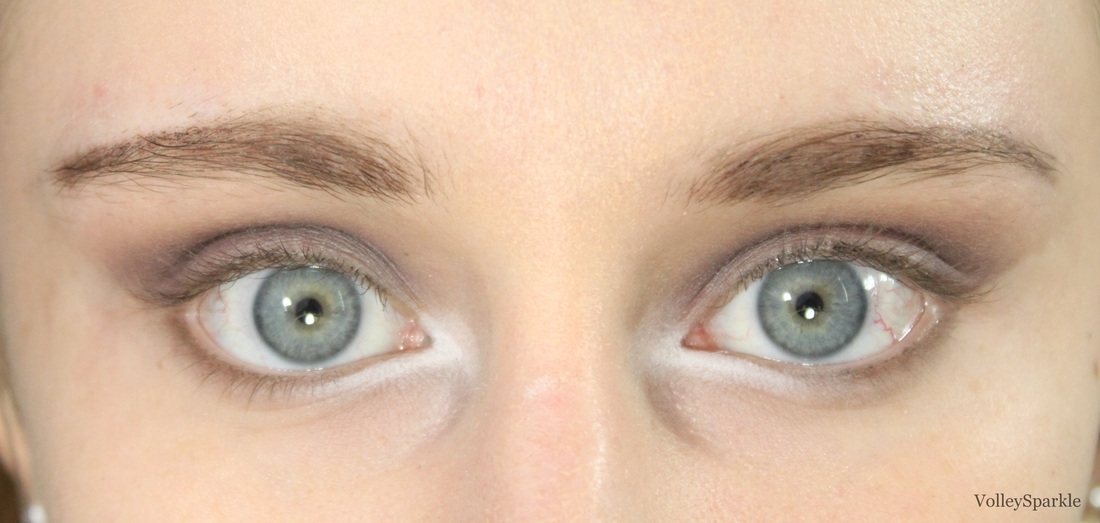
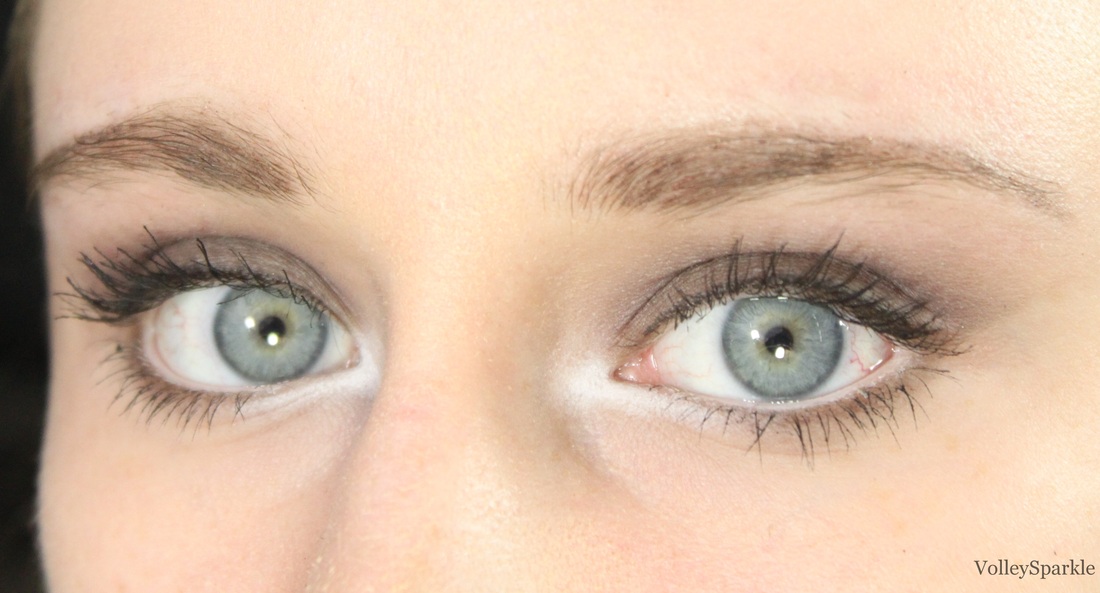
For the lower lashline I went in with a dark cool toned brown (M6 from the Smashbox palette) on a Sephora flat liner brush, and stopped about half way along the lashline. I blended out this brown with a bit of the light taupe (M5) from before. Since this look is darker on the lids, I wanted a more intense highlight. I used the Sephora Nano Liner in Pure White to line the inner half of the lashline, as well as in the inner corner, where I created a bit of a point. I went over the liner with a Coastal Scents pencil brush and a matte white shadow (Inglot #318). If you can tell, in this step I also took makeup remover on a Q-tip to clean up the edge of my crease color. 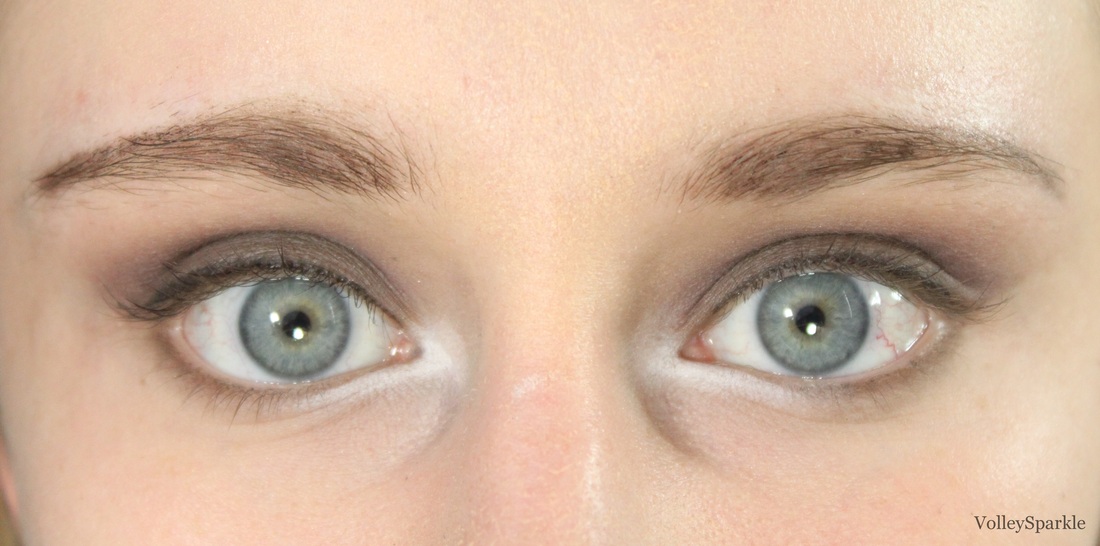
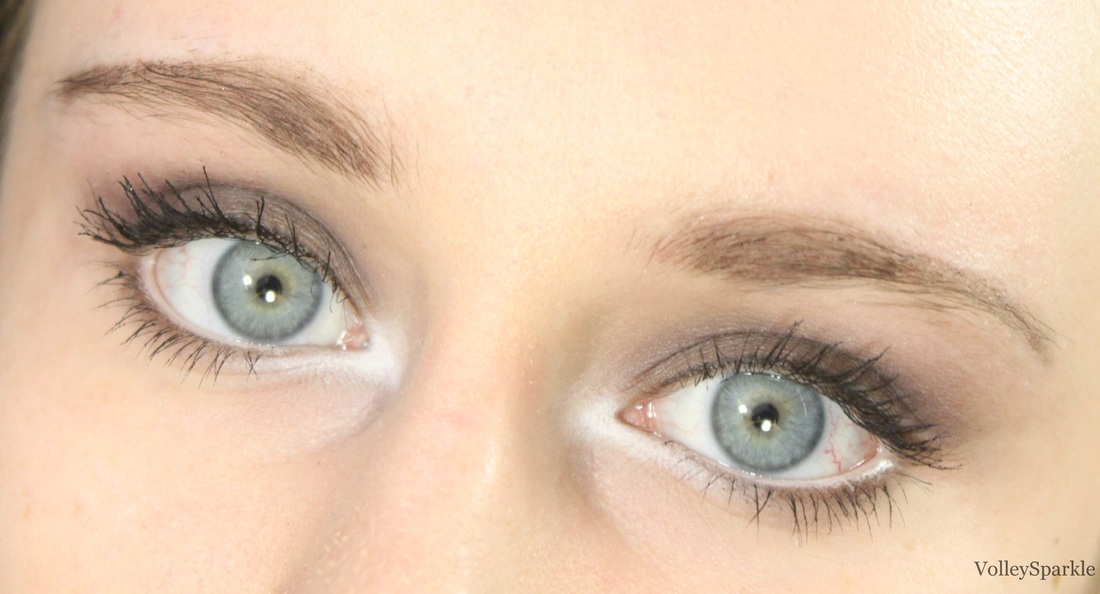
On the lids I went over the Color Tattoo with a dark taupe (M6 from the Smashbox palette) on a Coastal Scents shader brush. I applied a thin line of the Sephora Colorproof Liquid Liner in Matte Brown and to keep it soft I smudged it a bit with a mixture of the dark taupe on the lid and a black shadow. 
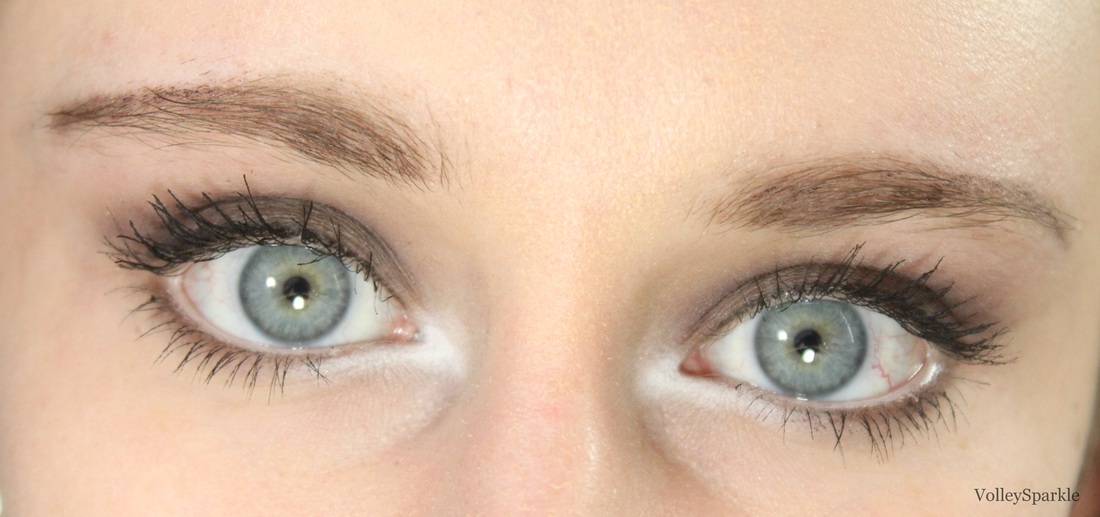
This look would work well with a dark brown or black in the waterline, but I wanted to keep it light with a white liner. Once again, I used the white liner from Sephora.
XOX ♥
0 Comments
Your comment will be posted after it is approved.
Leave a Reply. |
Product Reviews
All
Archives
May 2017
|
 RSS Feed
