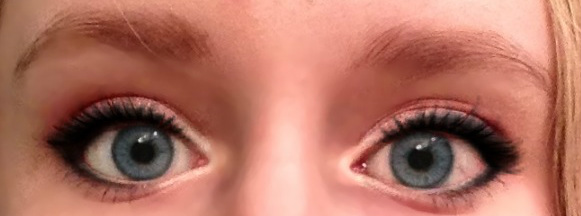
Lately, I have really been liking the doe-eyed look. It widens your eyes and helps you look more awake. (Even though my right eye is looking a little red and tired in this picture!) Here's what I did to create this look:
To Finish the Look:
A neutral doe eyed look will be coming soon! XOX ♥ 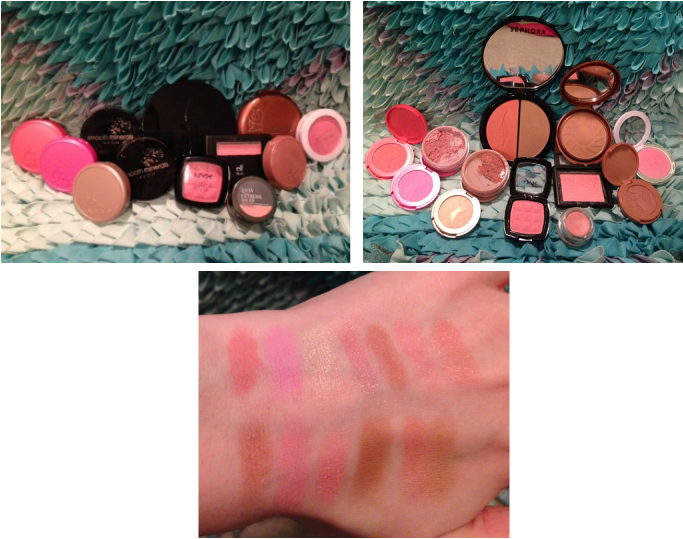
Swatches - Top Row, Left to Right:
Swatches - Bottom Row, Left to Right:
Come back soon for Part 4: Foundation, Powder & Concealer!
XOX ♥ 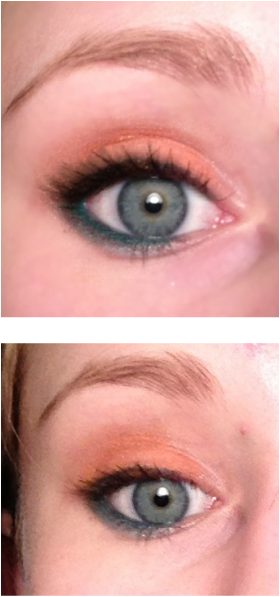 I picked orange & turquoise (blue) because they are complimentary colors! I also feel that the turquoise liner under my eyes really compliment blue eyes. Here's what I did to create this look:
Other Options
Finish Off The Face:
I hadn't intended on this being a wearable eye look, but, once I finished, I was surprised that it actually is pretty wearable! It may not be your daily eye look, but, it's a great way to experiment with colors! XOX ♥ 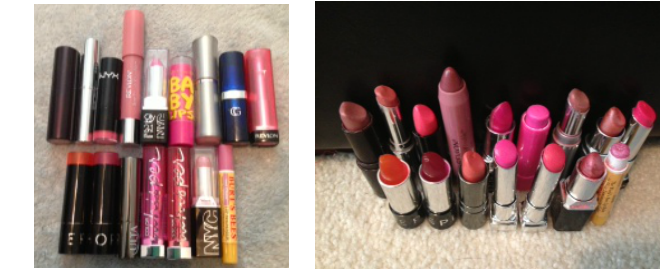 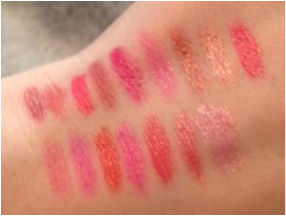 Top Row, Left to Right:
Bottom Row, Left to Right:
Not Shown: Maybelline Color Whisper in Pin Up Peach *Lipsticks that are rarely used Coming Soon - Part 3: Blushes & Bronzers  You may have seen that I just picked this up today, in my collective haul! (If you haven't, check out the "Hauls" section!) I had a $2 off coupon for a Maybelline Lip Product from one of my magazines, and I already have 2 Color Whispers, so I thought I'd try out one of the Vivids. For starters, I would like to say that Vivids is a great name for these lip sticks because they are very bright and pigmented! However, they aren't the smoothest to apply. However, these aren't sealed, so maybe mine got a little dried out. It's okay though because the color payoff is so good. I really love this color and it perfectly matches my new bikini (link on my haul post)!
XOX ♥ 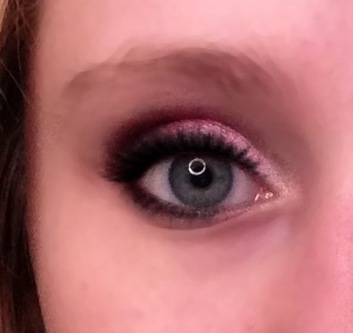 If you still need a V-Day makeup look, here is an idea! And FYI, the little white ring in my eye is from my vanity mirror that has a light around the mirror! Anyway, let's get on to the look!
If you will be going out for a while, I suggest using a primer. I, however didn't use one for this look because I wasn't going anywhere! I started with a bright pink eye shadow. I applied this all over my lid using a shader brush. Next I used a darker pink in my crease to use as a transition color with a medium sized fluffy brush. I then used a dark pink in the crease and outer "v". Next, I put black in the outer "v", lightly, to darken up the pink, skip this step to get a day look. I also applied a little of the dark pink/black combo under my eyes. Lastly, I used a little white liner in the inner corner. Add a highlighting eye shadow under your brow, if you wish. After the shadow, I lined my top and bottom lids about 2/3 in with a black eyeliner. I finished this look with curled lashes and mascara! Optional Add pink or white glitter to the lid for a more party/club look! What look will you be wearing tomorrow? XOX ♥ Sadly, there will always be those products in everyone's collection that you just hate and wish you didn't waste your money on. To prevent this from happening, here are the products I hate!
What products do you hate? XOX ♥ *These products were paid for with my own money. All opinions are my own. These are just specific products that didn't work for me, not the specific brand as a whole. |
Product Reviews
All
Archives
May 2017
|
 RSS Feed
