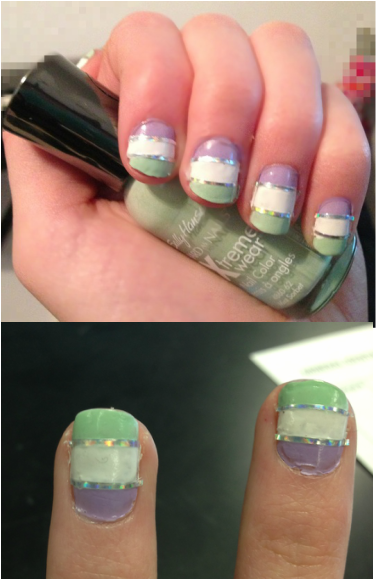
 I got the inspiration for these nails from Lynette Cenee's YouTube channel, she did a similar look, but, she didn't paint the middle stripe & left the natural nail there.
Polishes Used:
How To Get The Look: I have to say this was a difficult look, especially when doing it on my right hand. The polish didn't turn out as smooth as I wanted, but, I think they did turn out pretty well. Alright, the first step is to apply a base coat (optional). Then, apply the first color a third of the way up your nail, starting at the bottom, don't worry if it looks neat at all, because it will be covered with the middle stripe. LET THIS COMPLETELY DRY! If you don't, it ends up looking uneven or smudged...like mine turned out. I really have an issue with letting my polish dry all the way...I'll work on it! Next, do the middle stripe, again, it doesn't matter if the top of the stripe is even or neat. Now, put on your first silver stripe. Just cut the tape and carefully put it on your nail & clip off the ends. If any hangs off, it will peel like crazy, and it is really annoying! LET THIS COMPLETELY DRY! To finish off the stripes, paint the top one. Try to keep the bottom of these stripes somewhat neat so the colors will stop & start at the striping tape. Now, put on the other piece of tape, be careful to not smudge the wet polish! LET THIS COMPLETELY DRY! Once it is completely dry, seal the tape with a top coat, if you don't the time consuming tape will peel off! I even suggest 2 coats to keep it in place. This look is pretty time consuming, so if you don't have the dedication, I suggest doing this on one nail as an accent nail! I hope you enjoy this look! Happy Easter! XOX ♥ 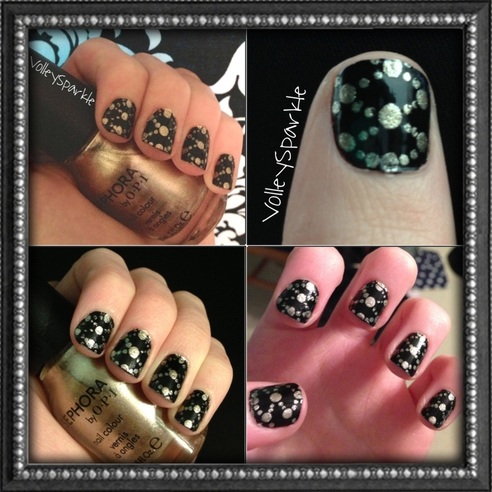 For this look, I started with a base coat to protect the black polish from staining my nails. Then, I painted my nails black using Wet N Wild Wild Shine Nail Polish in Black Creme. Next, I did this polka-dot argyle look (idea from MissJenFabulous on YouTube!). Using a reflective polish-I chose Keep Me On My Mistletoes from Sephora by OPI-I put 3 big dots down the middle and 2 big dots on the side with a dotting tool. Next, I connected the big dots with sets of 2 small dots. Lastly, I finished the design off with a top coat!
What's on your nails? XOX ♥ 
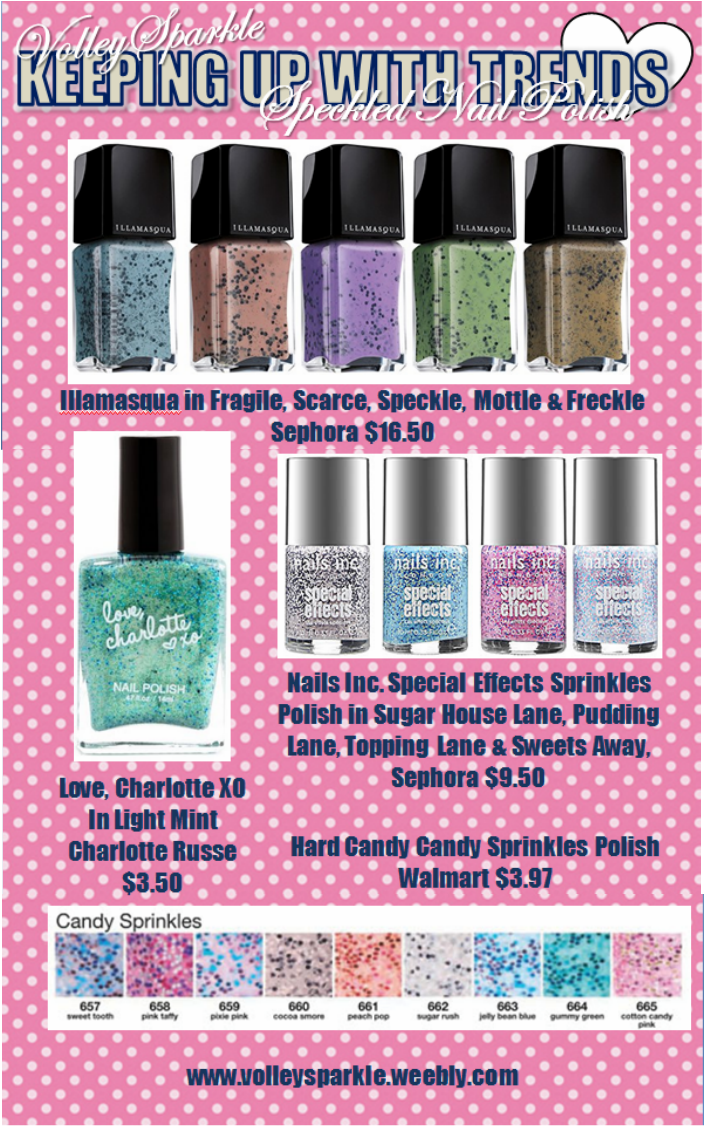
Mint Polishes
Background photo from www.wallpaperan.com
What's Your Favorite Pastel? XOX ♥ 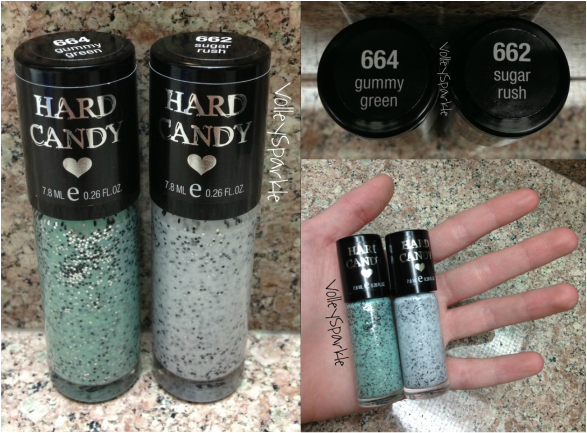
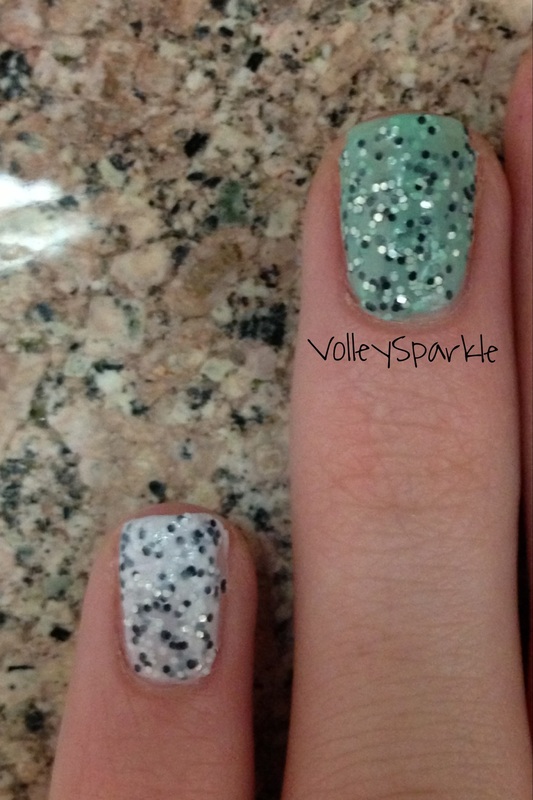
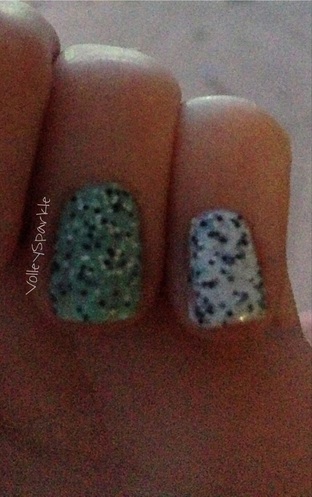
Gummy Green & Sugar Rush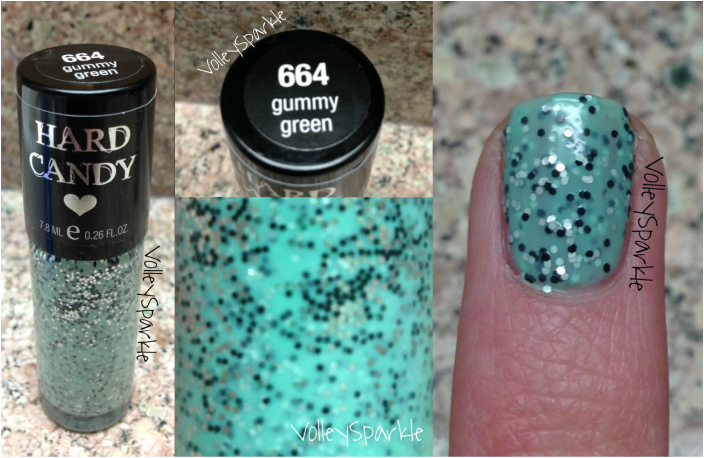
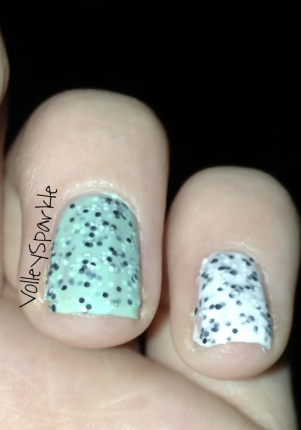
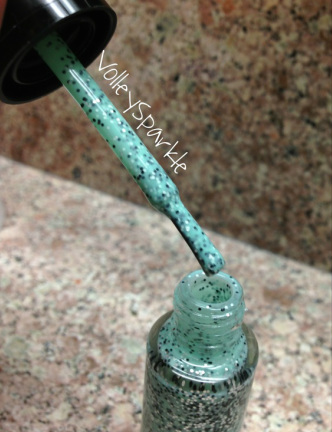
Gummy Green Gummy Green has a blue-leaning mint base color, with black & white-silver "sprinkles". I used 3 coats of Gummy Green with no top coat in the swatch. 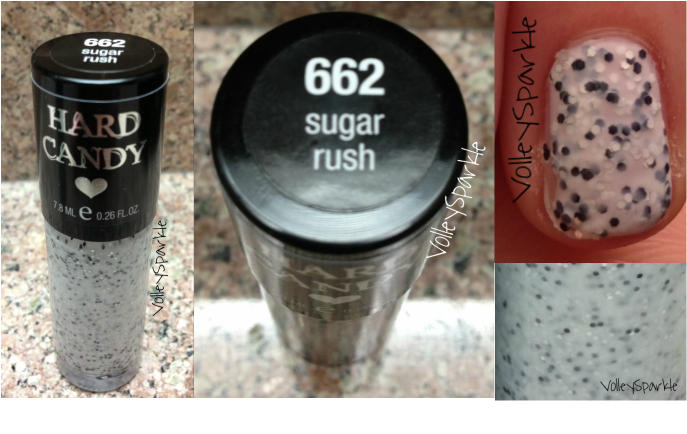
Sugar Rush Sugar Rush has a creamy white base with the same black & white-silver "sprinkles" that Gummy Green has. I used 3 coats of Sugar Rush with no top coat in the swatch. Application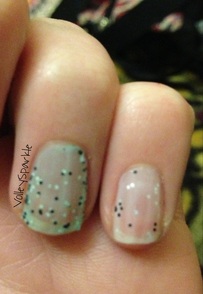 First Coat The first coat, as you can see in the picture to the left, is pretty sheer. However, this is good for these Sprinkles polishes because if it was more opaque, then each coat would cover up the "sprinkles" on the previous coat. Since it is more sheer, it allows you to layer it up nicely, giving you an end result with a lot of "sprinkles". 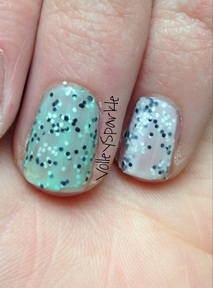 Second Coat The second coat amped up the opacity, as well as added a lot more "sprinkles". Here you can see how the sheer formula allows you to layer up the "sprinkles", while building up the opacity & brightness of the base color. 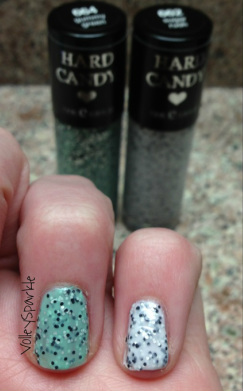 Third Coat With three coats, you get a pretty opaque base color, along with a large amount of "sprinkles". You can choose to add a fourth coat to make the base color completely opaque, but, I stop here. You can also apply a coat of a polish that is a similar color to the base to make the color more opaque. 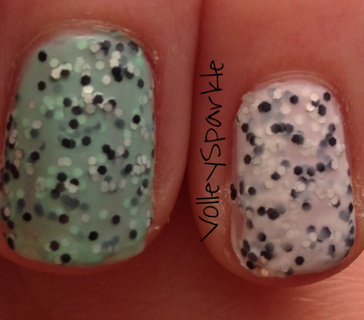 Overall Application I feel that these polishes have a nice formula. They aren't thick & goopy, but, they also aren't thin & watery. These polishes also dried at a normal speed. They also had an average wear with some slight wear on the tips after a few days. Other Photos
Will you be picking anything up from the Sprinkles collection?
XOX ♥ 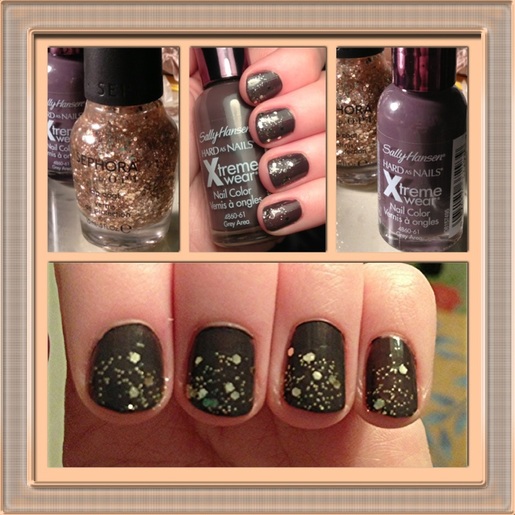 On My Nails:
For my nails, I used one coat of Grey Area (Sally Hansen polishes are super opaque!) followed by Only Gold For Me a little more than half way down my nail. I'm really liking this combo right now, dark nails look very chic, however, I personally don't like to paint my nails black. I like this color because it is very dark, but, is slightly purple. To see my review of the Sally Hansen Xtreme Wear Polishes, see the Review section! XOX ♥ |
Nail Polishes Swatches
All
Archives
June 2016
|
 RSS Feed
